Getting started
This page provides an overview and brief instructions on how to use the main features and capabilities of pSeven Enterprise.
Integration and automation
pSeven represents a design process as a workflow - a dataflow chart, which captures the process logic as a set of data-dependent subtasks. Each subtask becomes a block in the workflow. Blocks have named inputs and outputs called ports. To pass data between blocks, you connect ports with links, at the same time specifying the data dependencies.
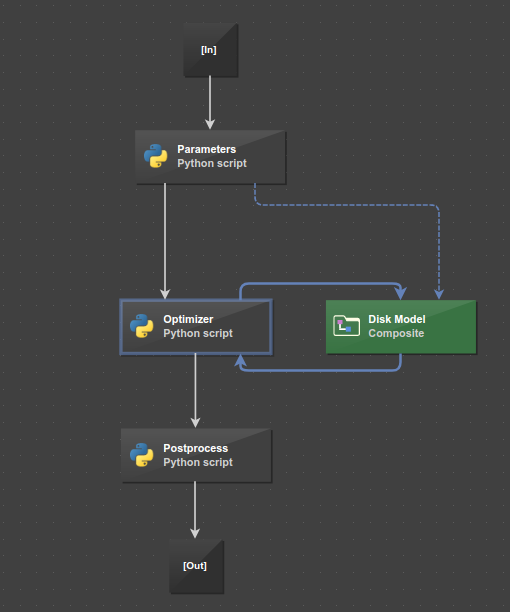
There is no need to set up the block execution order - pSeven automatically resolves the data dependencies between blocks and, when you run a workflow, launches its blocks in the order defined by links. Each block starts as soon as it receives inputs, processes the input data, and sends outputs. Different blocks may work in parallel - for example, if they receive input data at the same time.
Parameters and results
Design process parameters and results are selected from workflow ports.
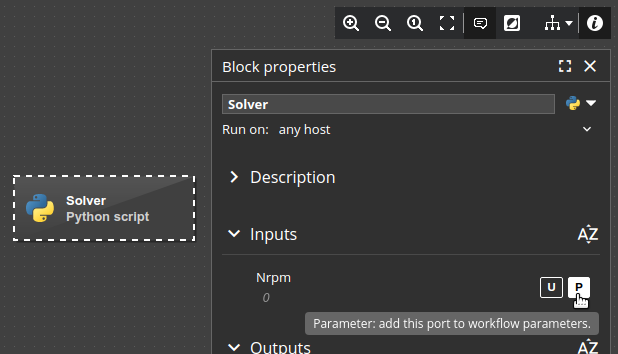
Any input port of any block can be selected as a parameter:
- Select a block in the workflow.
- In the Block properties pane, find the input and mark it as a parameter.
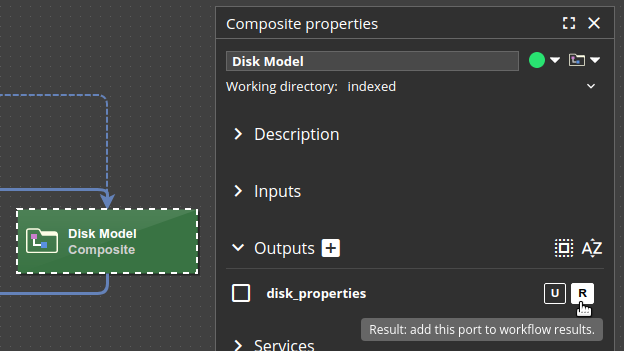
Any input or output port of a Composite block can be added to results:
- Select a Composite block in the workflow.
- In the Composite properties pane, find the port and add it to results.
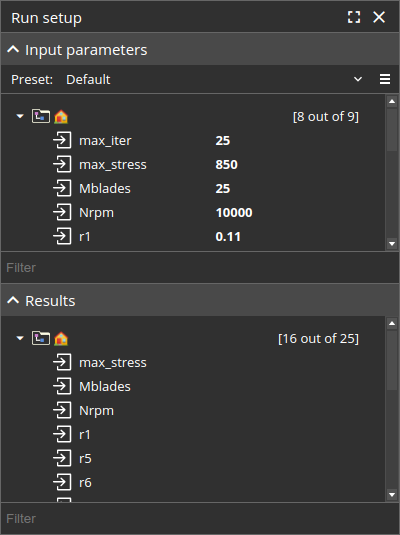
To view all workflow parameters and results, unselect all blocks (click an empty area in the workflow) to show the Run setup pane.
Collaboration
pSeven Enterprise supports various ways of collaboration:
- Private and public workspaces
- Publishing workflows as web apps
- Workflow and folder sharing
- Collaborative editing of shared workflows
Workspaces
Workspaces enable user teams to safely collaborate on the team projects, knowing that all members of a particular workspace - and only them - can access the files, workflows, and apps in that workspace. The level of access can be defined individually for each workspace member: some can have read-only access, others can run workflows and apps in the workspace, and so on. Workspaces are designed to be private, but can as well be public, which are open to all users by default.
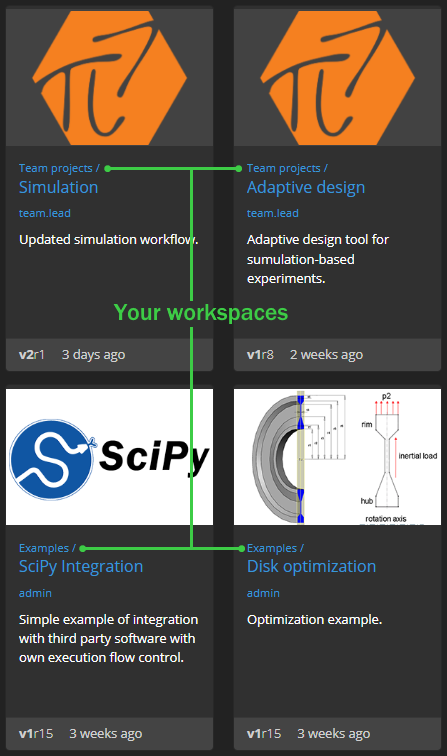
Workspaces are created by administrators, and managed by users. For example, admins can create dedicated workspaces for project teams belonging to different departments or even organizations. Each of those teams can then run and manage their own workflows and apps without interfering with others, as team workspaces are isolated from each other.
Admins can also set up access to several workspaces for a user, with different levels of access if needed, by configuring multiple workspace permissions.
Furthermore, admins can set resource quotas for each workspace, limiting the storage volume it can occupy and the number of simultaneous app runs. The workspace quotas are shared: they apply to the workspace team rather than individual users. Team members with an appropriate access level can use the workspace storage and host workflow and app runs in the workspace, and personal user quotas do not apply in such cases. That is, by setting workspace quotas, admins divide resources between project (workspace) teams.
For further details about configuration, see Workspaces in the admin guide.
Publishing workflows
Any pSeven Enterprise workflow can be converted into a web app by publishing it to AppsHub - a built-in repository of workflow-powered web applications. Apps are contained in workspaces, so publishing requires a workspace and is done by a user who has manager permissions there.
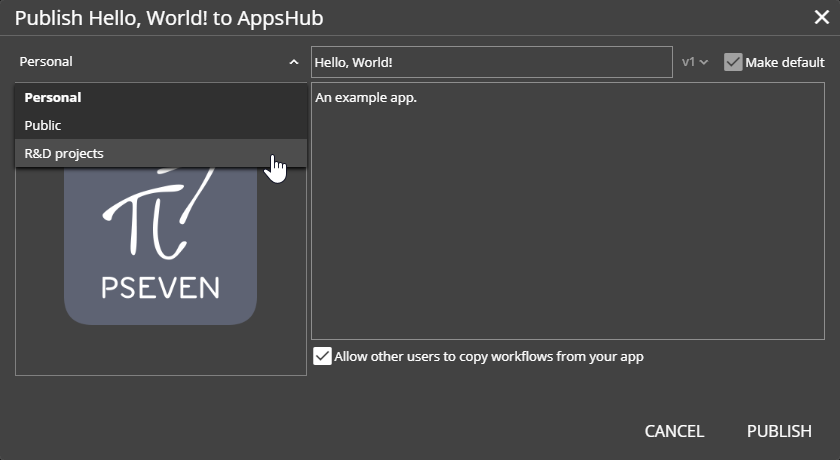
Apps in a workspace can be used by any member of that workspace - so a workflow is actually published to a specific user team. Other teams - from other workspaces - will not be able to access the app. However it is possible to publish a workflow to many workspaces, or set up a public workspace, where all users have access by default.
For more details about how apps work, see Workflow apps. Publishing is further explained in Publishing the workflow as an app.
Sharing
In pSeven Enterprise, you can give other users access to workflows or folders located at the root of your home folder. To create a share, hover over a folder or workflow and click the share icon. You can also select a single item in the Explorer pane and use the Share a folder... command from the pane's menu.
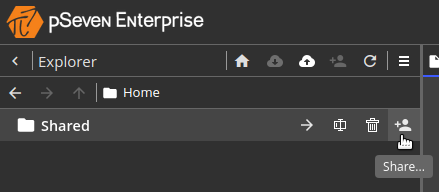
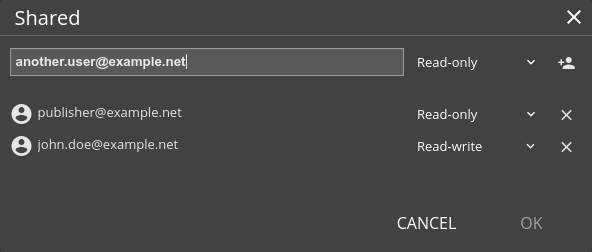
Clicking the share icon or using the command opens the sharing settings dialog, where you can add users and set their access rights. Users with read-only access are allowed to view the share's contents and run shared workflows but cannot make changes. Users with read-write access can participate in editing.
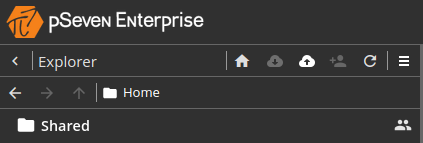
Once you have set up a share, pSeven Enterprise displays the sharing icon next to the share's name. Clicking this icon opens the same sharing settings dialog, so you can add or remove users for an existing share as well as change their access rights.
Collaborative editing
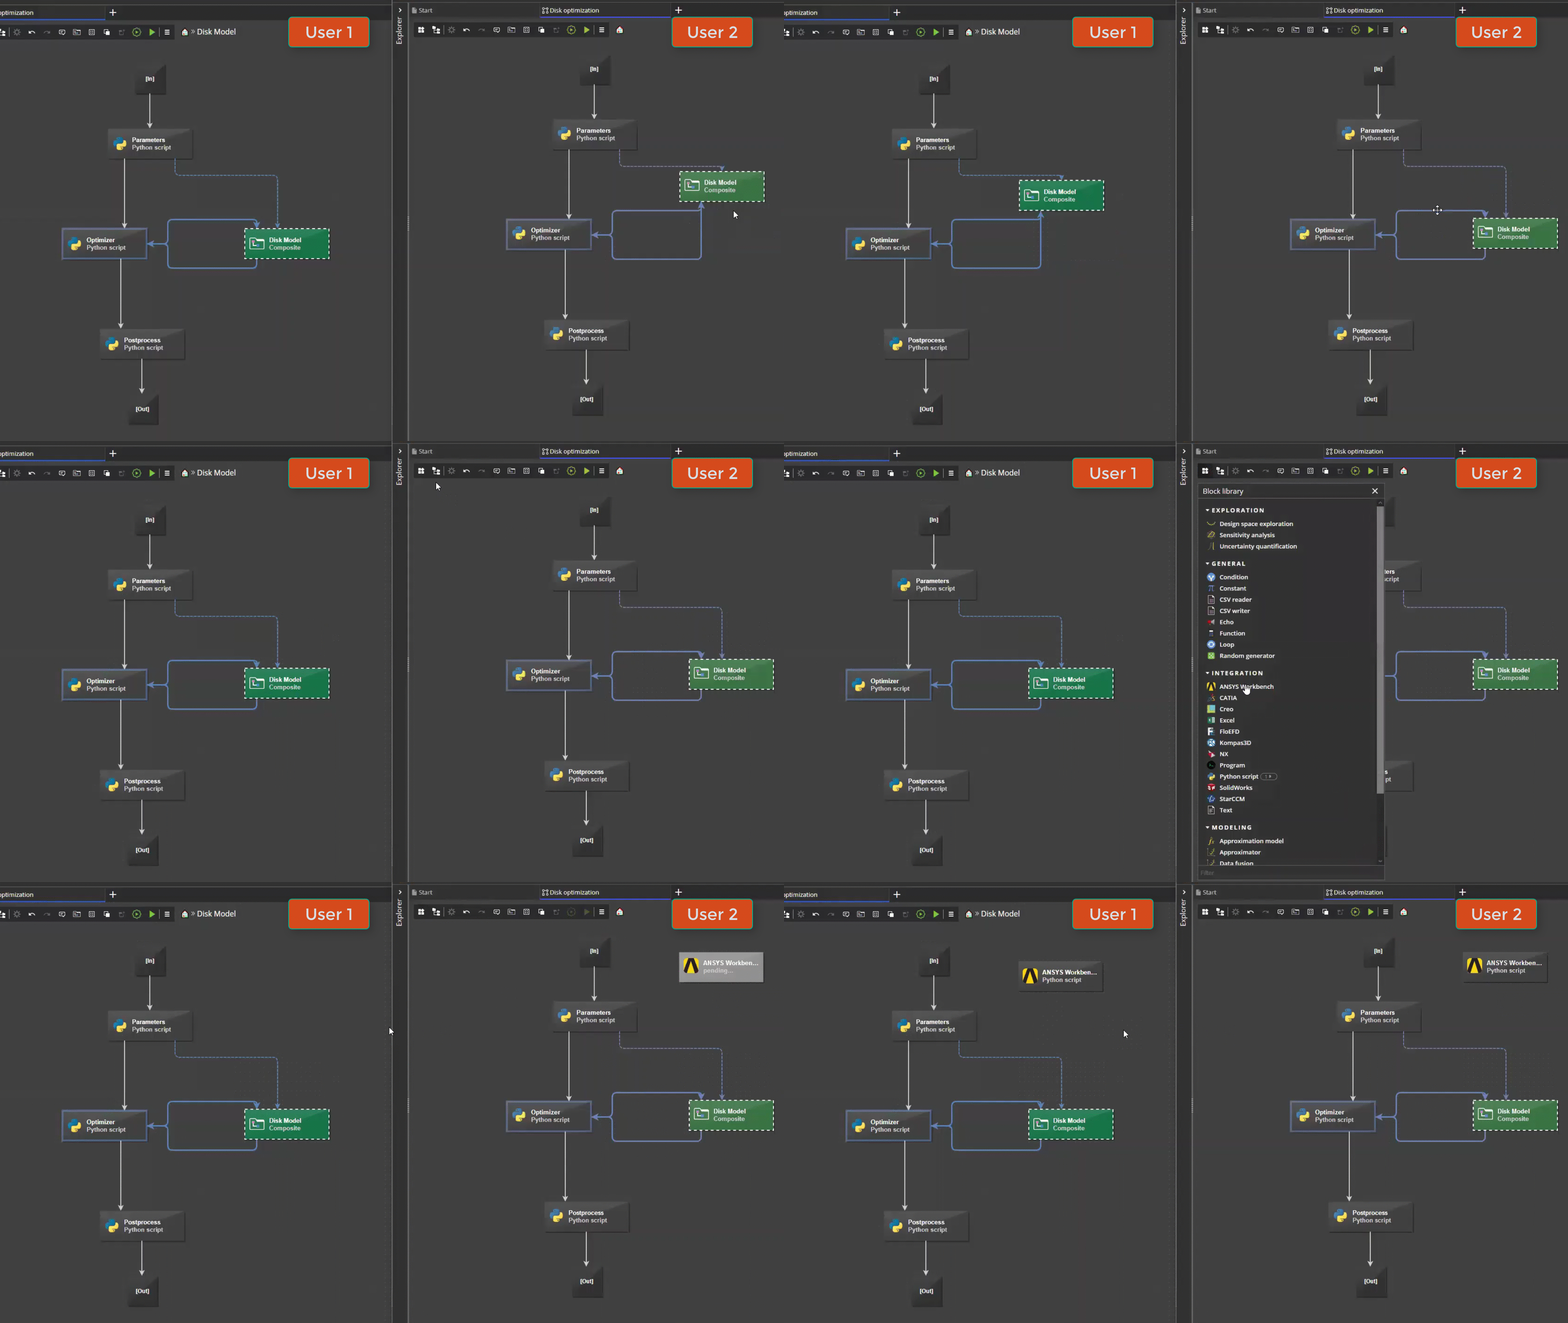
pSeven Enterprise supports multi-user editing of workflows. Users who have access to a shared workflow can work on it together at the same time - for example, add and configure different blocks. Changes to the workflow made by different users are synchronized in real time.
Design space exploration
pSeven Enterprise enables effective design space exploration by using pSeven Core - a Python library containing tools for optimization, design of experiments (DoE), and data analysis.
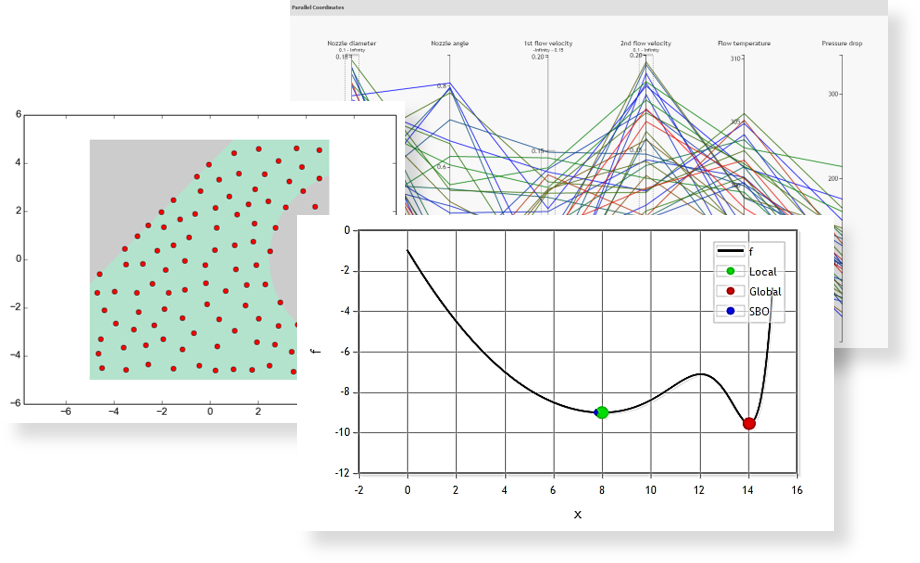
Design space exploration methods supported by pSeven Core include:
- classic space-filling DoE methods;
- DoE methods optimized for response surface methodology (RSM);
- optimized DoE for Gaussian processes modeling;
- adaptive DoE methods for tasks with linear and generic constraints;
- single- and multi-objective optimization;
- robust optimization;
- sensitivity analysis, and more.
The pSeven Core library is embedded into pSeven Enterprise by default. To use its methods, add a Python script block to your workflow, then import the desired pSeven Core modules in the block's script.
Predictive modeling
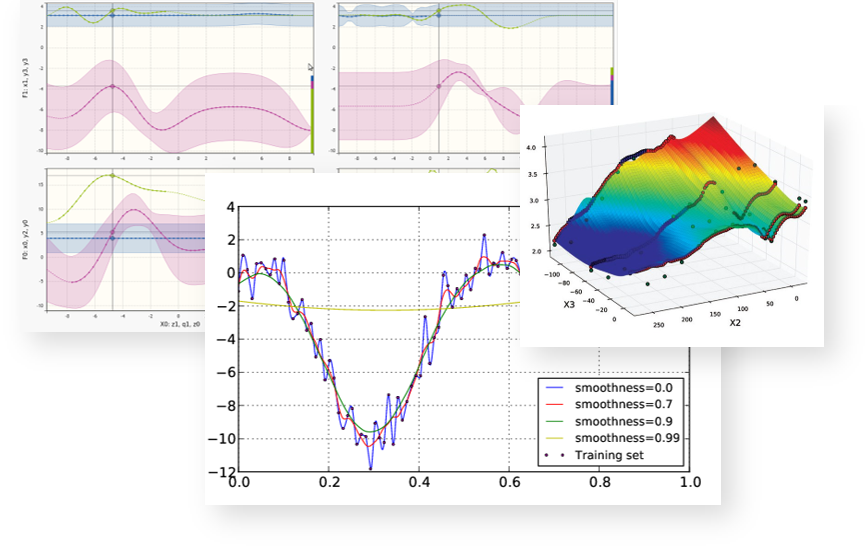
pSeven can train and evaluate predictive models using the training algorithms from pSeven Core. Training techniques supported by pSeven Core include:
- Gaussian processes;
- mixture of approximators, which enables incremental model training, useful to update an existing model with new data;
- tensor products of approximations for full-factored datasets;
- data fusion methods for training on multiple datasets of different fidelity;
- gradient boosted regression trees, response surface modeling, spline approximation, and other.
pSeven Enterprise also enables the deployment of predictive models as web services. You can load a pSeven Core model into a Python script block in a workflow, then connect to it through the REST API - see Workflow as a service for details.
Workflow apps
pSeven Enterprise apps are workflow-powered web applications with their own UI, created by preparing a workflow and publishing it to a workspace in AppsHub.
Apps present a simplified UI, which by default displays only workflow parameters and run results. pSeven Enterprise provides the stock app UI, which is default; you can replace it with a custom app UI tailored to your specific app.
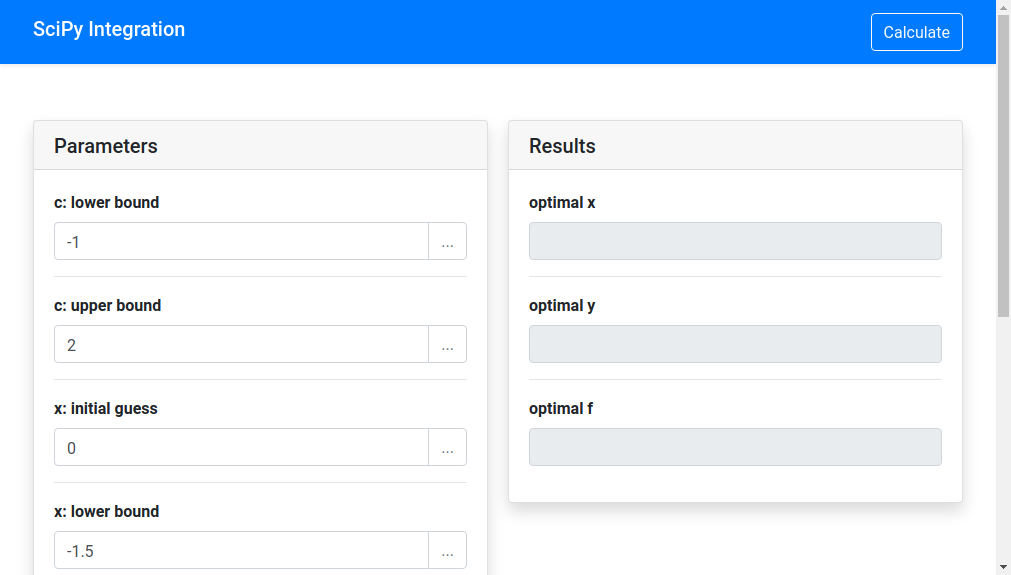
Any user who has access to an app can run it without opening the workflow that powers the app - so the use of apps does not require working experience with pSeven Enterprise.
Custom app UI
pSeven Enterprise provides a stock app UI, compatible with any workflow, which enables effortless workflow-to-app conversion. However you can also customize the app UI for a certain workflow, to make the app's interface more specific to its tasks - for example, add visualization of results or app usage guidelines.
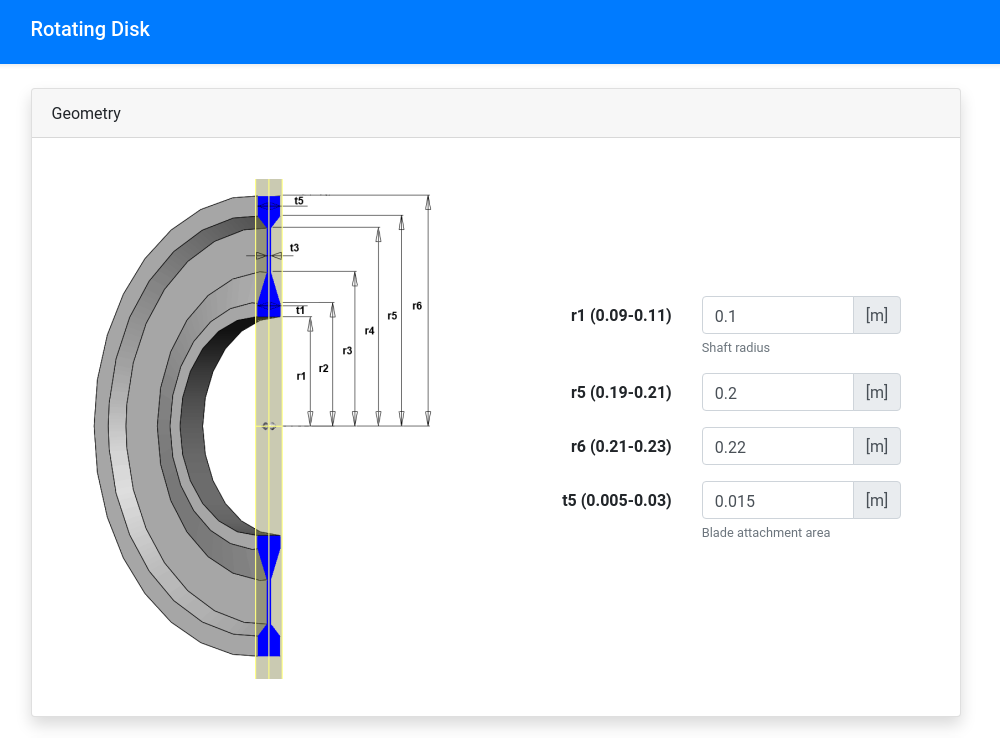
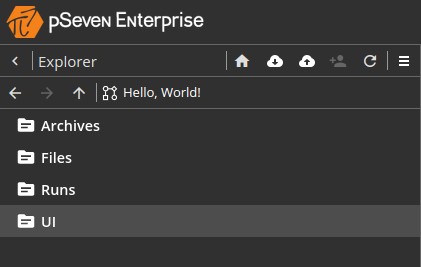
App UI files are located in the UI folder in the workflow folder. Once a new workflow is created, the UI folder contains the stock UI files. You can download that folder and use the stock UI implementation as a starting point in developing a custom app UI for your workflow.
Extending pSeven Enterprise
pSeven Enterprise provides various ways to expand its capabilities and integrate with external services. This section lists the expansion options available and provides links to detailed guides.
User blocks
For users who intend to develop custom blocks, pSeven Enterprise provides a user block template, which is available from the block library as well as from examples in AppsHub.
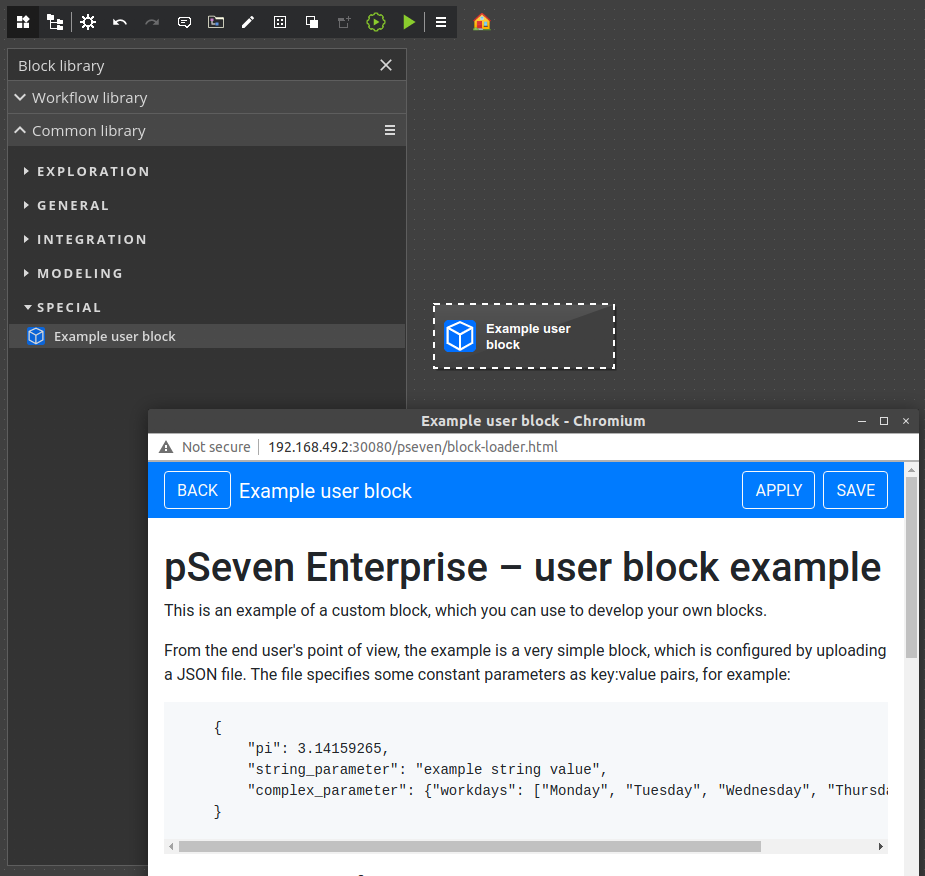
To get the template from the block library:
- Create a new workflow.
- Add Example user block from the Common library section (double-click it or drag to the workflow).
- Double-click the new Example user block created in the workflow to open it. See the block's Help for the development guide.
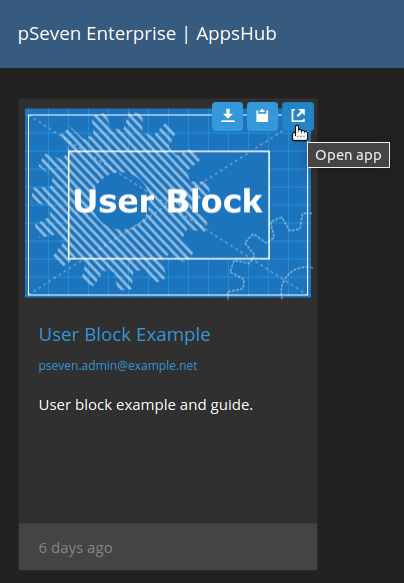
To get the template from AppsHub:
- Switch to AppsHub using the link from your user profile menu.
- Open the User Block Example app and see the example's description for the development guide.
Workflow as a service
In pSeven Enterprise, workflows can be integrated with external web services and applications using the REST API - the protocol to run existing workflows. A REST client can connect to a workflow, set its parameters, launch a workflow, get its results, exchange data with the workflow at run-time, and so on.
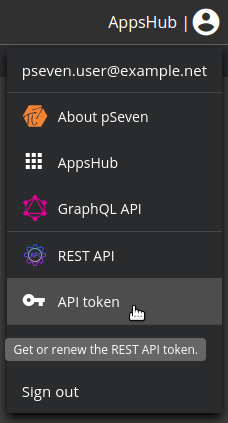
To use the REST API, you need an API token, which you can get either by authorizing through the API or from your user profile menu.
To run a workflow through the REST API, you need the workflow's API URL. To get it, select the workflow in the Explorer pane and use the Copy API URL to clipboard command from the pane's menu. You can also get a list of workflow URLs by using REST API requests.
For further details on using the API, see the pSeven Enterprise REST API Guide.
Block messaging
A REST client that runs a workflow can exchange data with its blocks while a run is in progress, using the messaging mechanism. For example, you can set up a block to wait for a message from the client, then process this data to produce output.
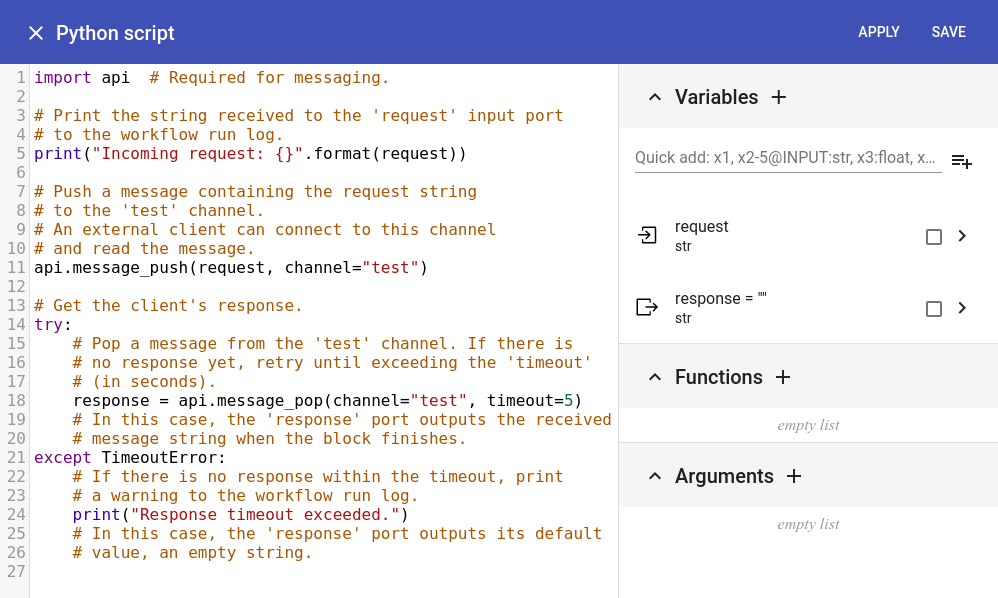
For details on using the messaging mechanism, see section Messaging in the pSeven Enterprise REST API Guide.
App as a service
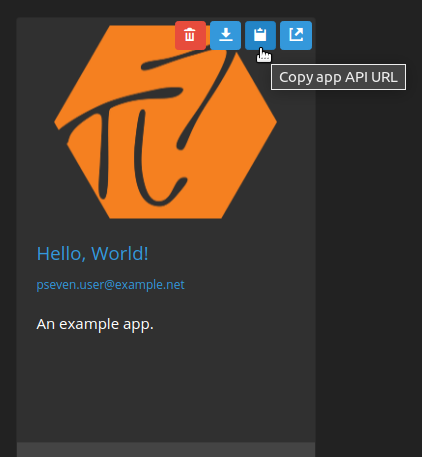
The REST API can also be used to run apps from AppsHub. The API provided by apps is basically the same as the workflow API described in the pSeven Enterprise REST API Guide. The main difference is that you will need the app's API URL to work with. To get this URL, open AppsHub and hover over the app thumbnail, then click the icon.
Windows extension nodes
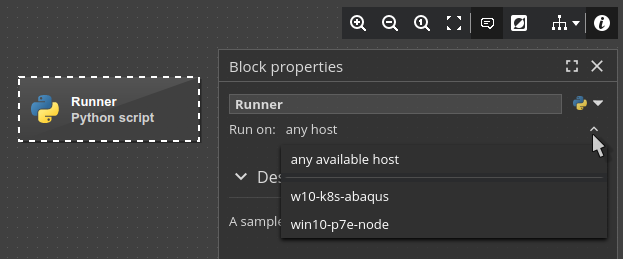
pSeven Enterprise can be extended with additional Windows nodes to run node-locked or Windows-only software. For example, if a block in your workflow integrates a tool that runs on Windows only, you can configure this block to run on a specific Windows node where the tool is installed:
- Select the block in a workflow.
- In the Block properties pane, select one of the nodes from the drop-down list under the block's name.
Extension nodes are set up after the main pSeven Enterprise deployment and can be added at any time as needed. For further details, see Extension node deployment.